How to Make a T Shirt Quilt
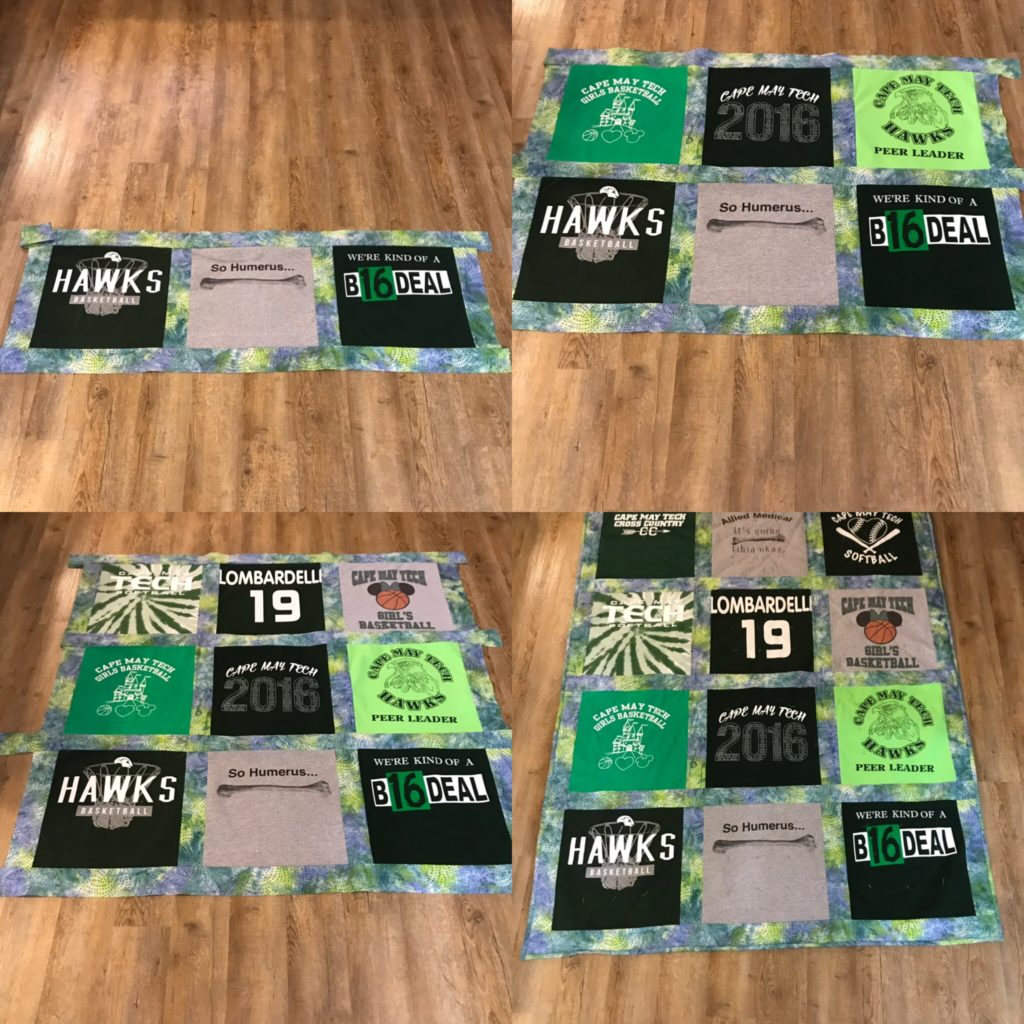
Who doesn’t love a t-shirt quilt which commemorates their high school accomplishments to grace their dorm room bed or wall when they go away to college? My client from Cape May Court House, NJ was interested in a quilt for her daughter to take away to college. The shirts that she saved were from her daughter’s high school career; she competed in three sports as well as a pre-college nursing program at Cape May Tech. She was looking for a quilt with 12 t-shirt panels. She gave me nine shirts, but three of the shirts had images on both the front and the back.
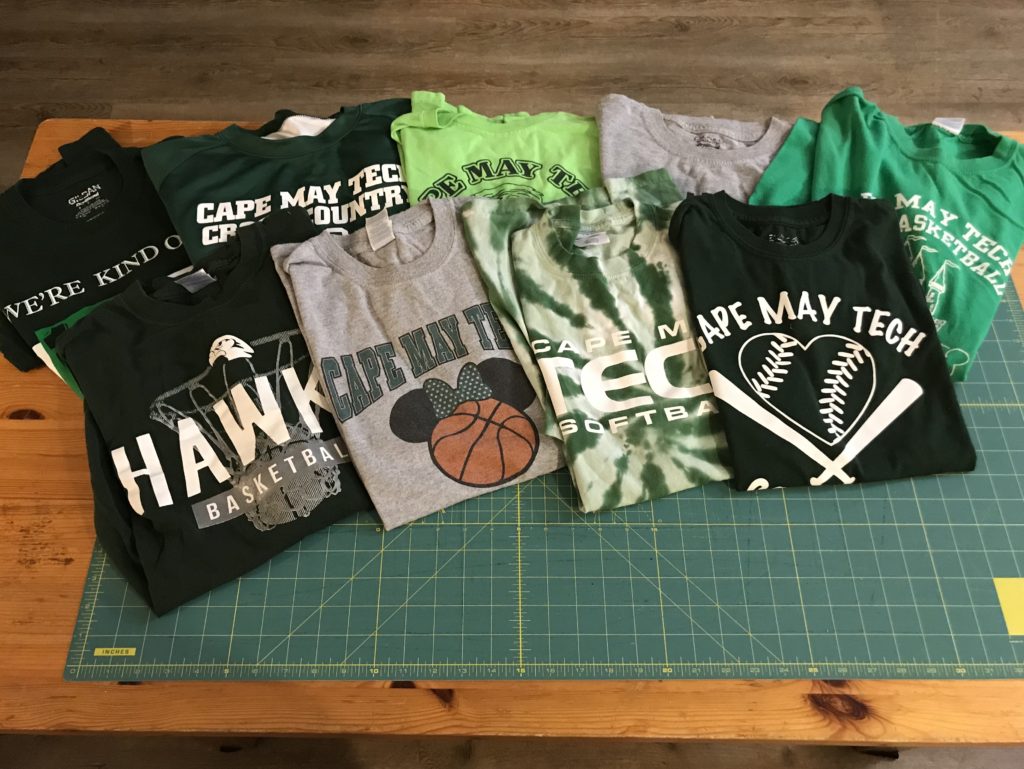
When we sat down to look over the shirts, she said she wanted the fabric strips to be complimentary to the colors of the school. I brought some fabric samples with me and she picked one out right away.
All of the shirts were in really good condition, and the images were good sizes and all in the correct proportion to each other. This was going to be an easy one!
First I remove the sleeves, side and shoulder seams.
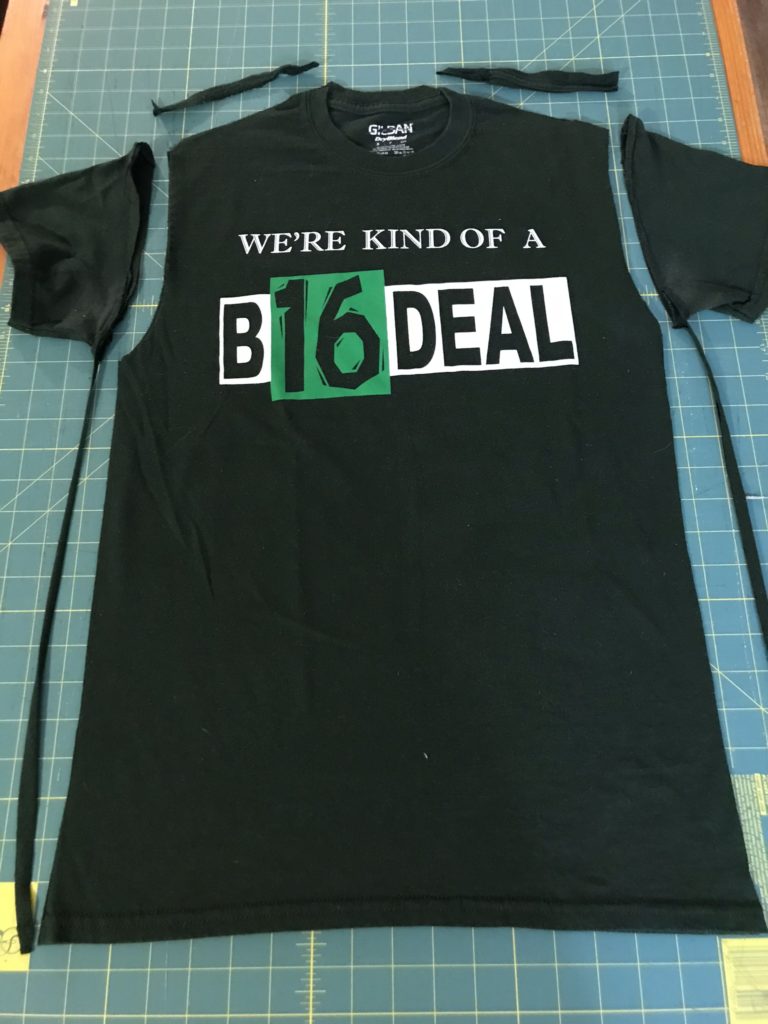
Next the neck needs to be removed. I need to save as much fabric above the picture as possible so that the images can be centered as best as they can. Then I eyeball the size square I will be making.
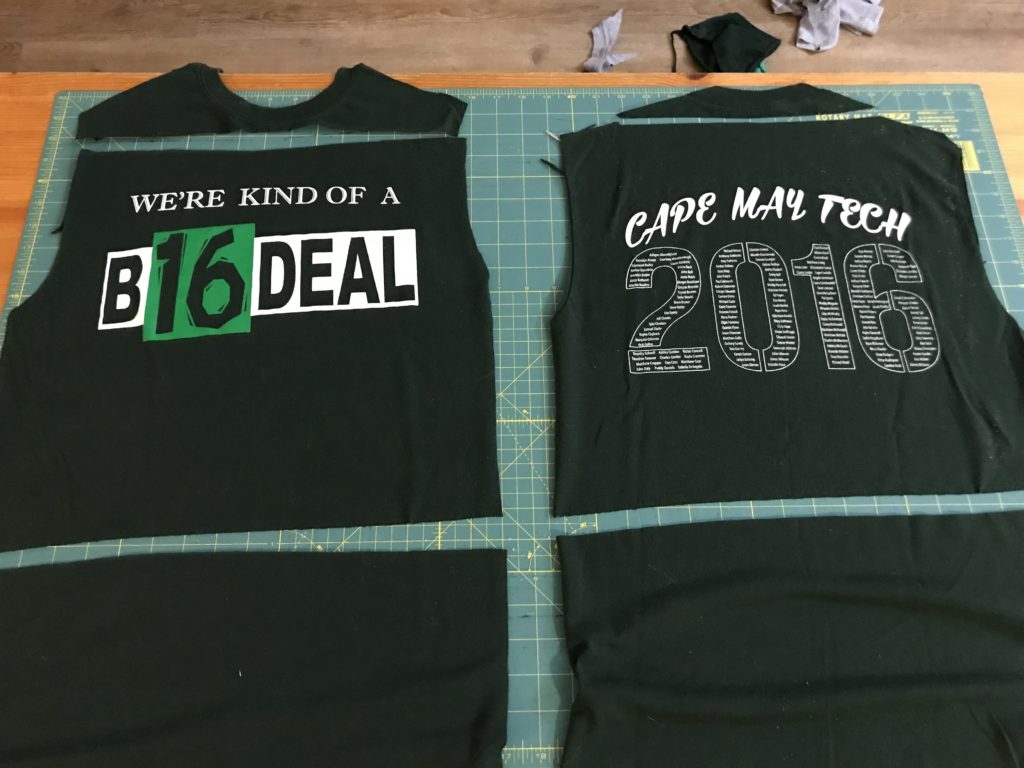
This shirt had a design on the back, which was the names of all of the graduates from the class of 2016. Pretty cool idea! Plus it means that I get two images from one shirt.
Once I have the 12 squares, I cut them to the uniform size that I’ve decided will be 13 inches.

It’s time to frame each shirt with the complimentary fabric.
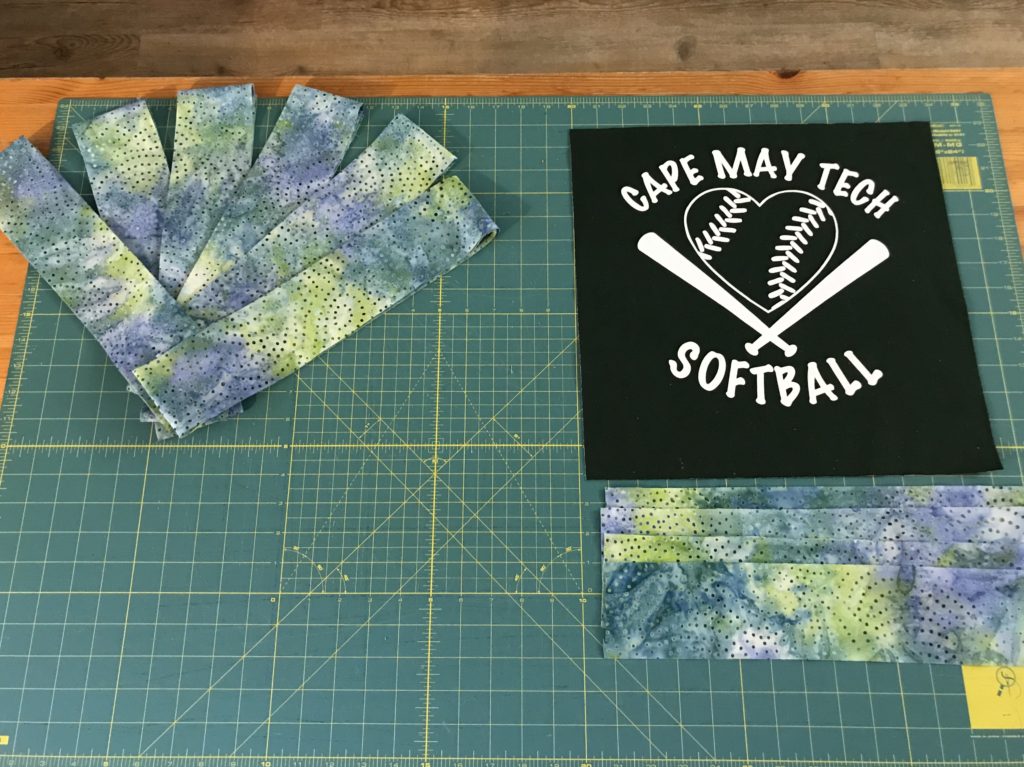
Each tshirt block gets framed with a three inch strip of fabric.
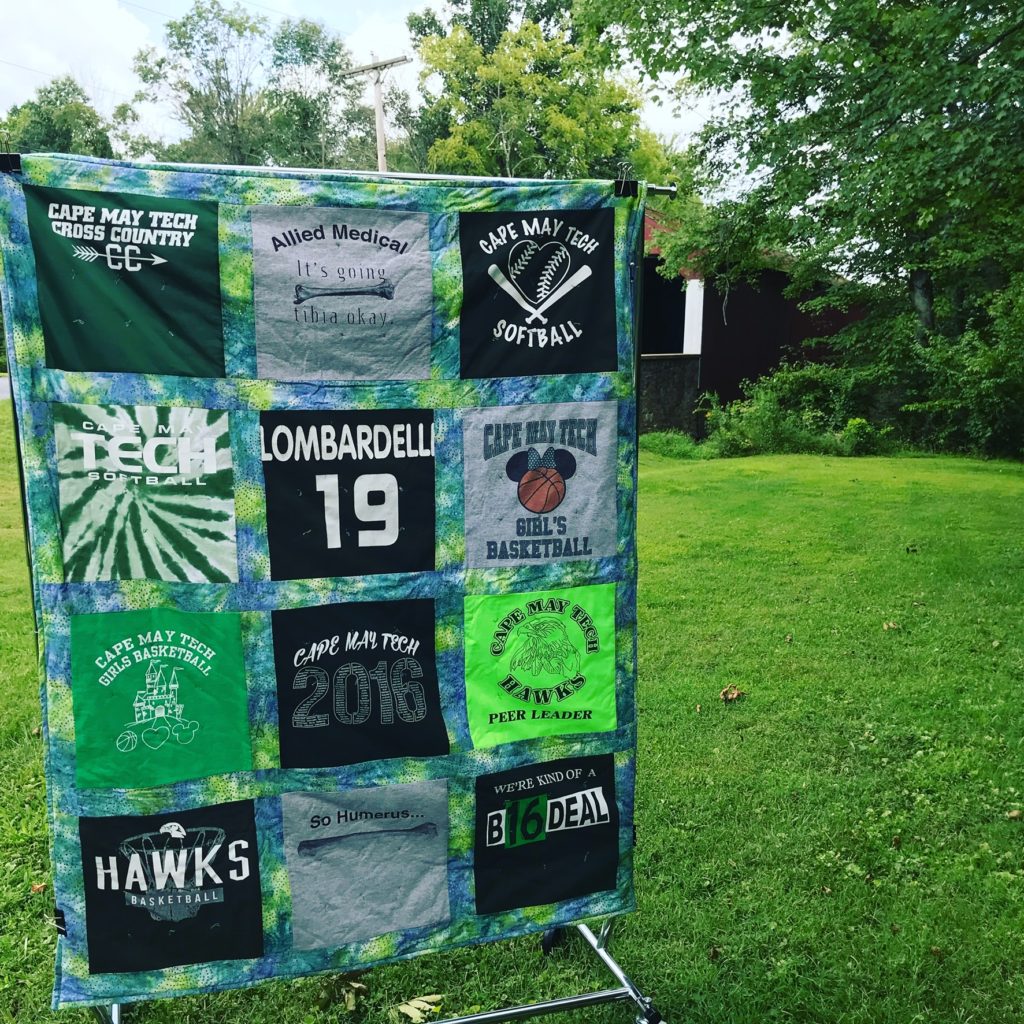
After the quilt top is complete, you build the quilt. A piece of white muslin, just a little bit larger than the quilt top is the bottom layer, then batting in the middle, and the quilt on top. Next I place knots every 4 inches to keep all three layers together. Once the knots are done, it’s time to bind the edges.
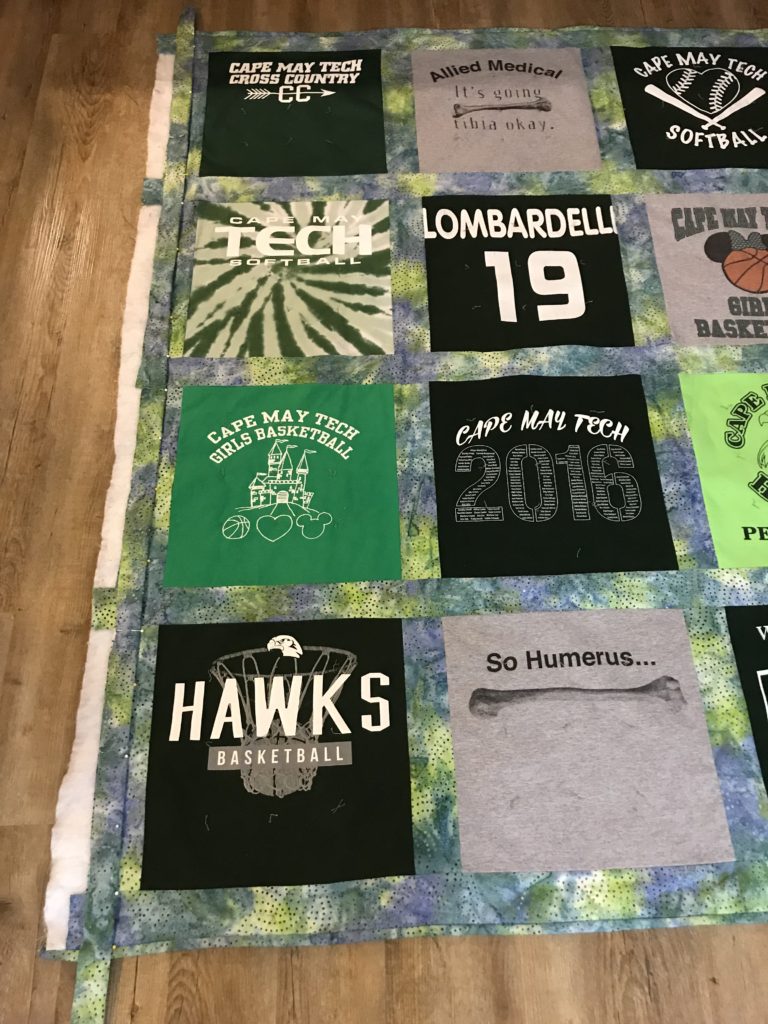
The finished quilt is approximately 48″ by 62″.
